Okta Workforce Identity Cloud
3 minute read
Registering Apps on Okta Workforce Identity Cloud
To configure Okta Workforce Identity Cloud as an identity provider, you must install the following applications.
-Cloud Auth OIDC
-Cloud Auth API Service
Adding Cloud Auth OIDC application
-
Log in to the Okta Workforce Identity Cloud administration console.
-
Navigate to the Applications > Browse App Catalog.

-
Select OIDC in the Functionality section.

-
Search for Cloud Auth OIDC and select the Cloud Auth OIDC application.

-
Select Add Integration and click Done.


-
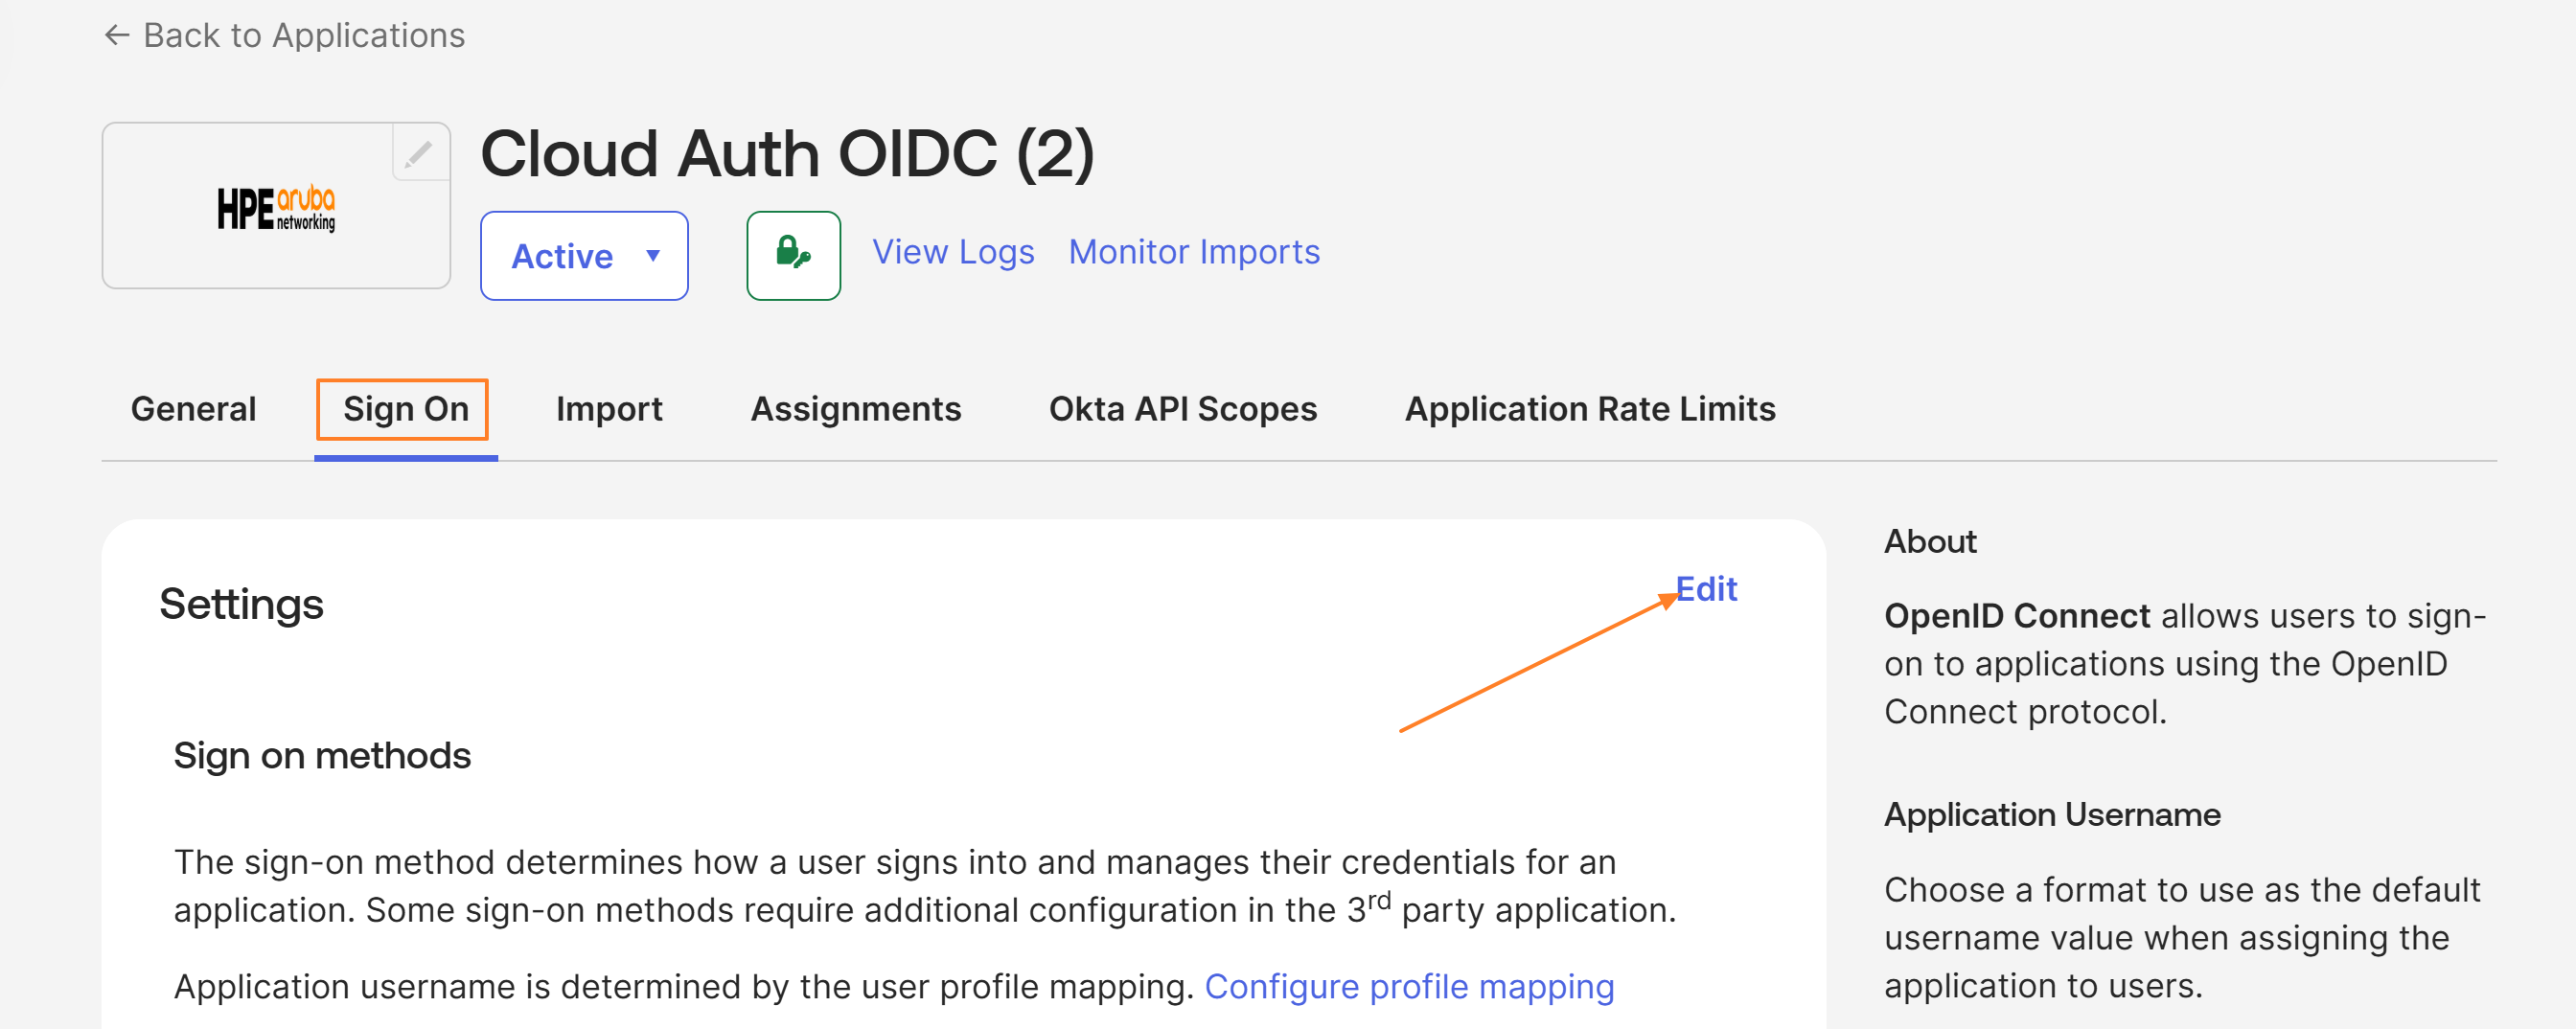
Select Sign On, In the Settings section select Edit.
8.Login to New Central and navigate to Central NAC > Configuration > Identity Management > Create Identity Store.

-
Choose Okta Workforce Identity Cloud as the Provider and copy the Redirect URI.

-
In the Okta console, Scroll down to the Advanced Sign-on Settings. Copy the Redirect URI obtained from the Central NAC identity store and paste it in the Redirect URI field and click on Save.

-
Click on the Assignments tab and go to Assign > Assign to People


INFO
For the Cloud Auth OIDC application to authenticate a user, the user must be assigned the application.You may choose to assign the application to Groups for ease of configuration as selecting every individual user may not be feasible in production Okta tenants.
-
Search for the User or Group you want to assign the application to and Click Assign > Done.

-
Click on Sign On and copy the Client ID and Client Secret. This will be used as Client ID and Client Secret when adding Okta Workforce Identity Cloud as an IDP in Central NAC.

Adding Cloud Auth API service
-
Go to the homepage of your Okta Workforce Identity Cloud administration console.
-
Navigate to the Applications > Browse App Catalog.
-
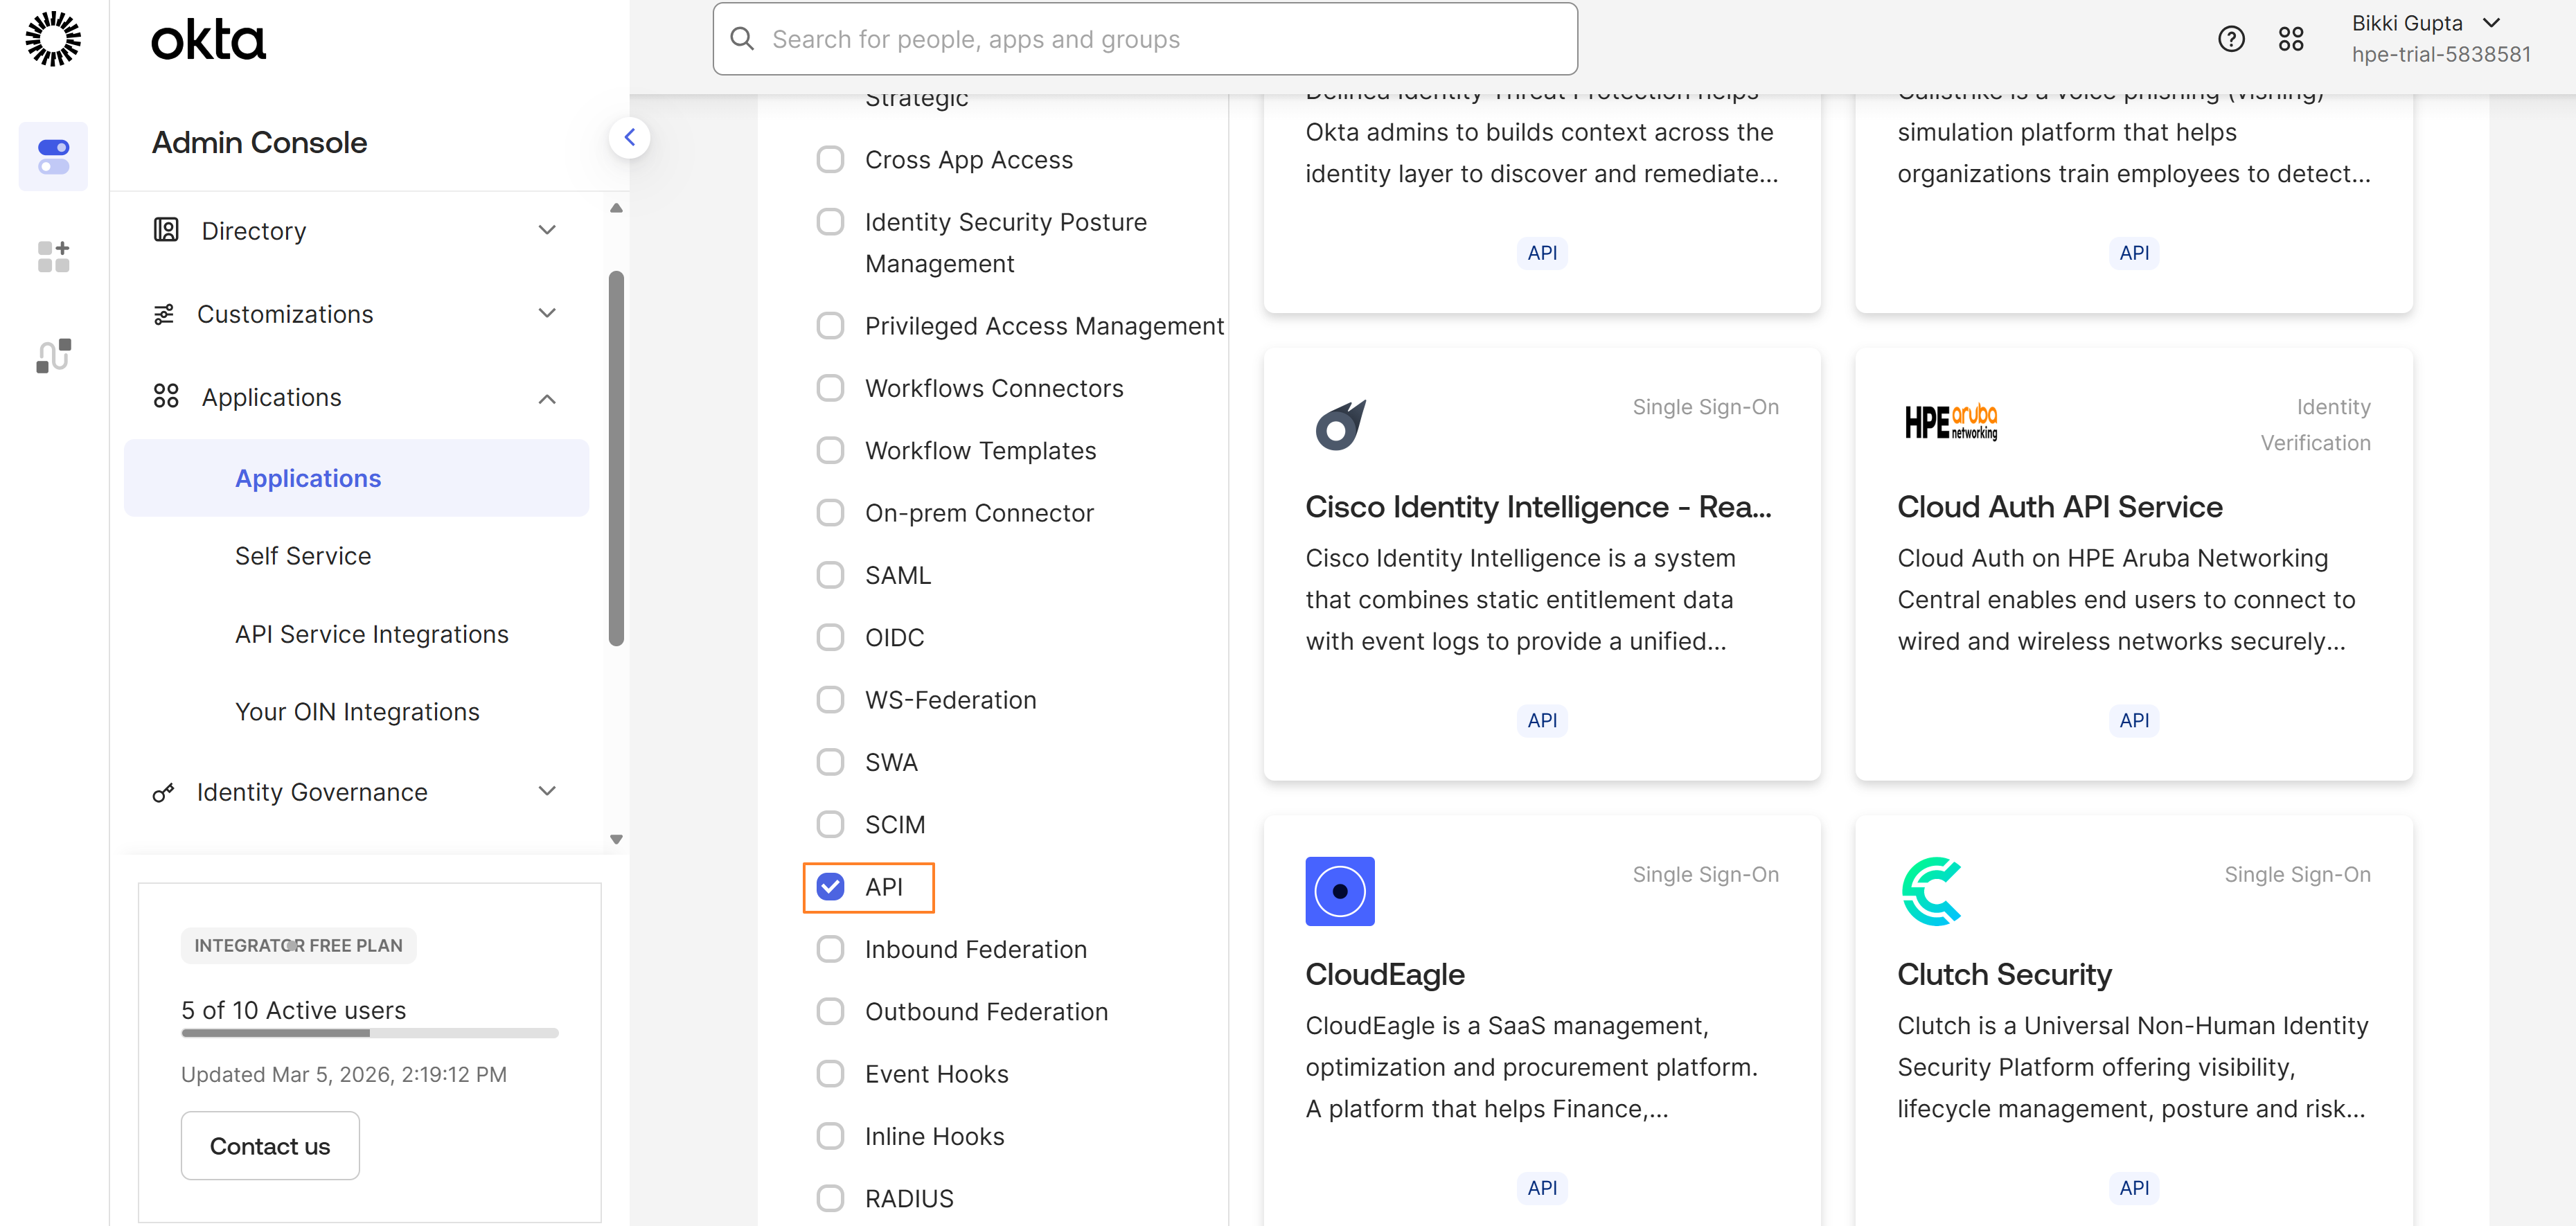
Select API in the Functionality section.
-
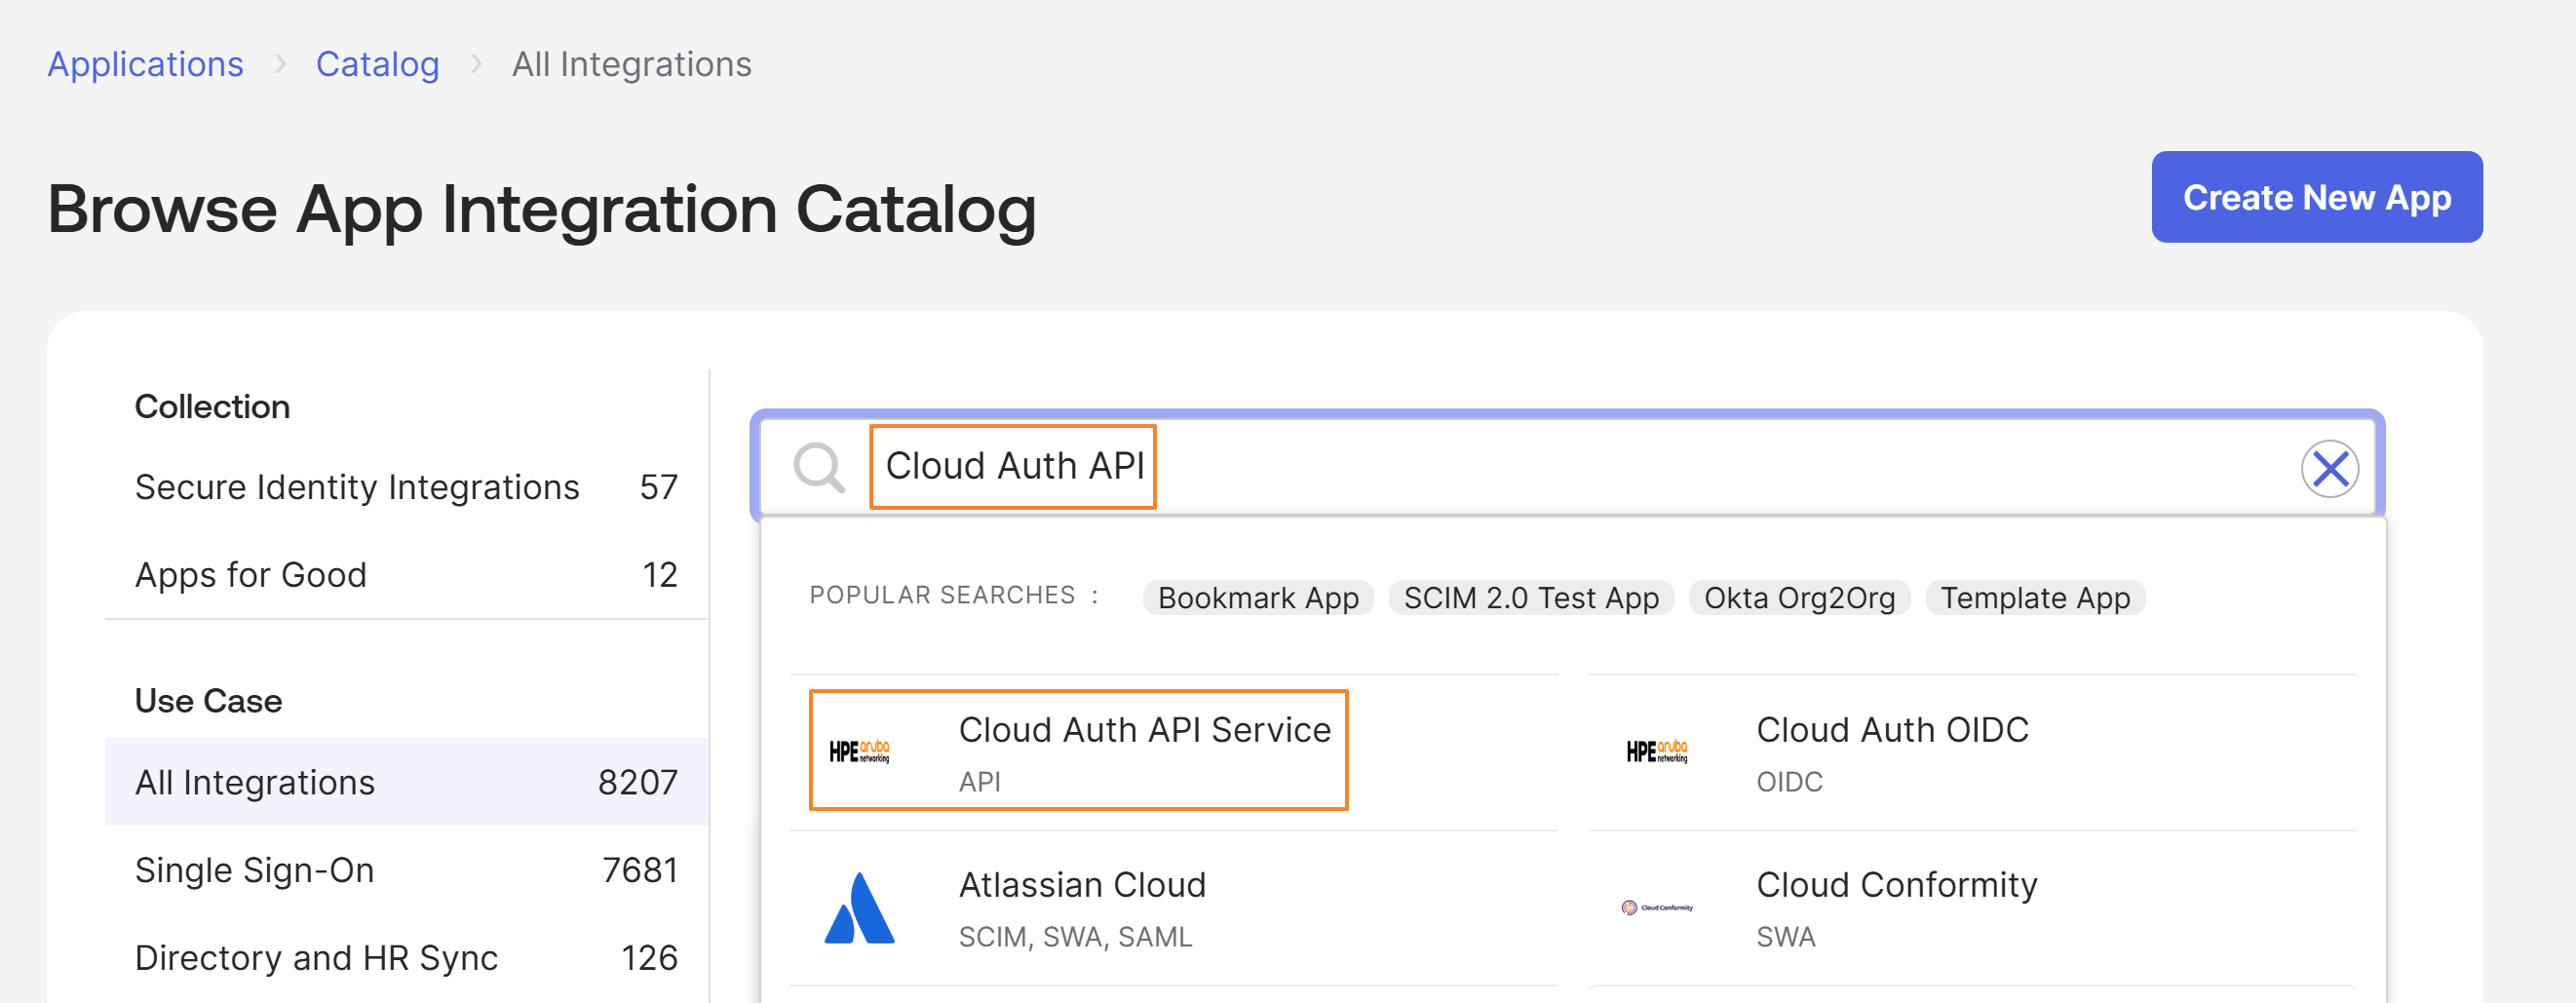
Search for Cloud Auth API Service and select the Cloud Auth API Service application.
-
Click Add Integration to proceed to the next step.

-
Click Install & Authorize, The Client Secret is then displayed. Copy it and store it safely as this will later be used as Service Client Secret while adding Okta Workforce Identity Cloud as an IDP in Central NAC.


-
From the following page, Copy the Okta Domain and Client ID. These will be needed at later steps while while adding Okta Workforce Identity Cloud as an IDP in Central NAC. Client ID copied from here will be used as Service Client ID in Central NAC.

Configuring Okta Workforce Identity Cloud as IDP in Central NAC
-
Within Central NAC, Navigate to Configuration > Identity Mangement > Manage as shown below.

-
Click on Create Identity Store to create the IDP

-
Provide a Name, select Okta Workforce Identity Cloud as the identity provider and fill the form using the Okta Domain, Client IDs and Client Secrets copied earlier from Okta Workforce Identity Cloud.
